17 Jun

There seems to be a lot of confusion about adding sitemaps to Shopify websites, so we created this article to show you how simple it really is.
Adding Shopify sitemaps is one of the elements that impacts your Shopify site’s SEO. Sitemap.xml files can be a bit confusing to Shopify site owners because they’re really not meant for their site’s users, only for the search engines that crawl and index their content.
Essentially, sitemap.xml files make it easier for Google, and other search engines, to discover your site’s content. Instead of having to rely on confusing site architecture, the sitemap.xml provides search engines with another avenue to find your site’s content. All things being equal, URLs within your sitemap.xml will get crawled more often and will provide canonical signals to Google so, ideally, your most important pages will be included in the sitemap.xml.
Most people think they have to resort to using a 3rd party app (which usually charges a monthly fee), however, that is not the case. In this post we’ll explain all about Shopify sitemaps.
What is a Shopify sitemap?
A Shopify sitemap is an XML file that search engines use to find your website’s URLs. The Shopify sitemap is automatically generated and creates links to your product, category, blog, and marketing pages. The Shopify sitemap.xml cannot be manually adjusted.
What is an HTML sitemap?
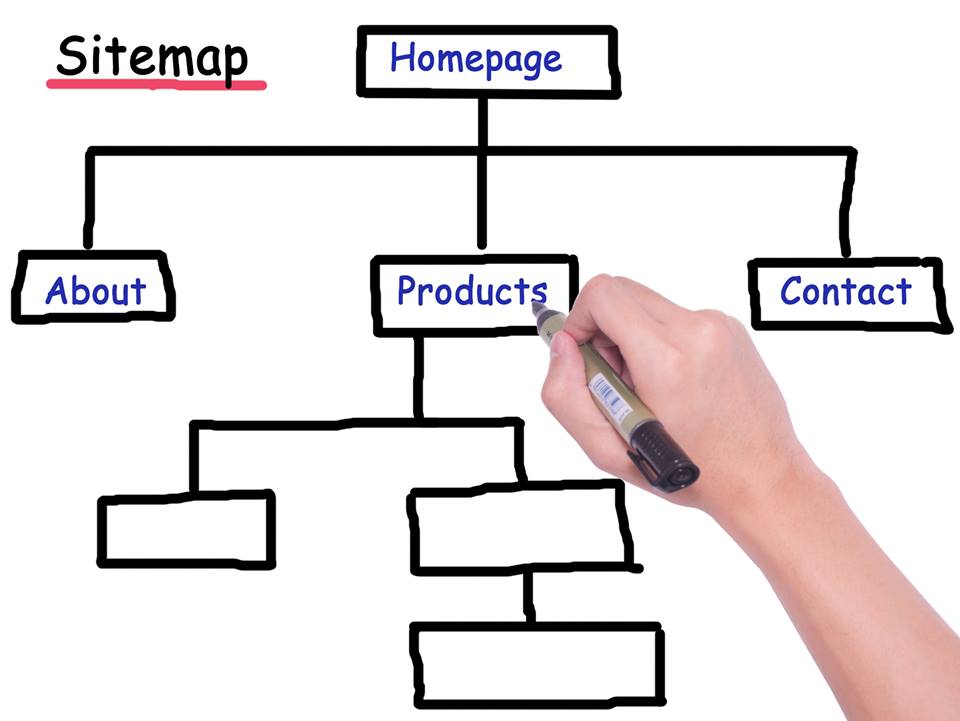
An HTML sitemap allows website visitors and crawlers (such as Google Bot) to easily navigate all the pages throughout the website on one page. It’s essentially a bulleted text version of the website’s navigation. The anchor text displayed in the HTML sitemap links directly to the page it references.
What is an XML sitemap?
XML sitemaps are very similar to HTML sitemaps as they list a websites’ important pages, ensuring Google (or any other search engine crawler) can locate, crawl, and understand the structure of the website – which plays an integral part in organic search rankings. However, XML sitemaps are usually dynamic and pulled from a 3rd party plugin, such as Yoast SEO. These sitemaps are also the ones you submit to Google Search Console for indexing, which allows you to monitor technical website issues.
Shopify sitemap limitations
One of the benefits/limitations of Shopify (depending on your perspective!) is that it automatically creates XML sitemaps split by page type. However, for some more advanced SEO use cases, this can be limiting since these sitemaps cannot be manually altered and new sitemaps cannot easily be created on the CMS (and subsequently uploaded to Search Console.
How to create a custom XML sitemap:
- Upload all URLs you want in your custom sitemap to Screaming Frog in List Mode and crawl.
- Create an XML file using the Sitemap option in Screaming Frog (if you URLs are canonicalised or no-indexed make sure to select these options when creating your sitemap in Screaming Frog or they won’t be included)
Why are Shopify sitemaps important?
Sitemaps are important for site navigation and SEO. Without an HTML sitemap, your customers are virtually lost in your online store, less likely to find the products they want. Without an XML sitemap, Google will have difficulty crawling the URLs on your site, unable to find the information it needs to rank you in the SERPS.
XML sitemaps are particularly important for large sites. It can take a long time for Google to crawl a big site, and a sitemap will speed the process up. New sites, sites with orphaned pages, and sites that have lots of images or videos can also benefit from an XML sitemap.
If your internal linking isn’t great, Google can use a sitemap as a guide to crawl your site, instead of relying on your links. Because XML sitemaps are more important for SEO, we’ll shift our focus to them here. Check out our guide to the benefits of HTML sitemaps to learn more about how HTML sitemaps benefit your SEO and users.

How to create your Shopify sitemap
We’ve established what a sitemap is and why it’s important for your site. Now let’s take a look at how to create an XML sitemap for your Shopify store.
The great thing about creating a Shopify XML sitemap is that you don’t have to do any of the heavy lifting. If you have a Shopify site, Shopify will automatically generate your sitemap for you. Your file will contain links to the following:
- Products
- Product images
- Pages
- Collections
- Blog posts
The files are also automatically updated when you add new content, like updates to a webpage, new products, collections, images, or blog posts. However, your sitemap will be different based on your Shopify account type:
On a basic account, your store’s primary domain is provided with a sitemap file, which can be discovered by search engines. Whereas, on any other account, Shopify offers an extra international domains feature that lets you create regional and country-specific domains. If you use this feature, all your domains are provided with sitemaps and are discoverable for search engines.
If you have a Shopify site, congratulations you also already have a sitemap!
How to find your Shopify sitemap
Finding your Shopify sitemap is easy. All you have to do is type your URL into your browser search bar and add /sitemap.xml at the end. Your sitemap will open right up. You’ll see your sitemap index file first.
This is your main (or parent) sitemap. If you have a big site with a lot of URLs, you might also have links to individual sitemaps, called “child” sitemaps.
- Generally speaking, your Shopify child sitemaps will contain:
- Product pages: there’s a sitemap for each product you sell
- Collection pages: your product collection pages have sitemaps
- Blog posts: each blog post you have is collected in a sitemap
How to customize your Shopify sitemap
You might be wondering if you can change and customize your Shopify XML sitemap. The short answer is no: you can’t directly edit your sitemap or upload your own sitemap through the platform.
There is a workaround, though. Shopify allows you to block certain pages from being crawled if you don’t want Google to see them. You just need to make some changes in Shopify to your robots.txt file. Let us break it down for you:
- Open your Shopify admin. Go to the online store and then select Themes.
- Select the theme you want to edit. Go to Actions, then Edit code.
- Click the theme.liquid layout file and make your changes below. The changes you’ll want to make will depend on what you wish to exclude.
To exclude the search template, employ this code:
{% if template contains ‘search’ %}{% endif %}
To exclude a specific page, use this code (just make sure you replace ‘page-handle-you want-to-exclude’ with your actual page handle!):
{% if handle contains ‘page-handle-you-want-to-exclude’ %}{% endif %}
- Click Save.
That’s all you need to do. You’ve customized your Shopify XML sitemap to stop Google from crawling every single one of your pages.
How to submit your sitemap to Google Search Console
In order for Google to find, crawl, and index your site with your sitemap, you first have to submit it. Submitting your sitemap requires two main steps: verifying your site, then submitting your sitemap to Google Search Console.
How to verify your site with Google Search Console
To submit your Shopify sitemap to Google, you’ll first have to verify that you’re the owner of your Shopify site:
- Navigate to Google Search Console.
- Go to the left sidebar and click Add property.
- When the Select property type dialogue box appears, enter your domain into the URL prefix. Click Continue.
- Select HTML tag in the Verify ownership section and copy it to your clipboard:
- Then go to your Shopify admin, click Online store, and then Themes:
- Choose the theme you want to edit, then click Actions and Edit code:
- Now you need to paste your meta tag into the theme you plan on publishing in the near future or your current theme. Go to Layout and select {/} theme.liquid. Once you are there, you will see your XML data:
- Find thetag and insert a new line directly beneath it. Paste your meta tag (which you copied in step 5) into this new line:
- Click Save.
- Return to Google Search Console and click Verify.
And you’re done! You should get confirmation of this verification, and you can then get started with our next step: submitting your Shopify sitemap to Google Search Console.
How to submit your Shopify sitemap to Google Search Console
You’ll be glad to know that this step involves fewer sub-steps than verifying your site. There are just four things you have to do to submit your Shopify sitemap and get on Google Search Console’s radar:
- Go to Google Search Console
- Go to the left sidebar and navigate to Sitemaps
- Find Add a new sitemap and enter sitemap.xml into the text field:
- Click SUBMIT.
And that’s it! Google now has direct access to your Spotify sitemap.xml file. Remember that if you’re using international domains then you’ll have to do this a few times for each domain.
Important: A sitemap reader like Google can’t access this if your site is still password protected (i.e., you haven’t yet made it accessible to the public). Shopify has covered this problem. Basically, if you’re not ready to go public with your site, you can always disable your password to give Google access, then re-enable it later on while you work on your site.
Common errors when submitting sitemap to Google Search Console
1. Couldn’t fetch the sitemap error
Sometimes you’ll have an error such as a message from Google Console stating that they couldn’t fetch the sitemap. Make sure that your Search Console property is set up correctly and you can consider removing and adding the property again as a last resort.
Indexed, Not Submitted in Sitemap Error
Sometimes Shopify may report your URLs on your site as “indexed, not submitted in the sitemap.” Here are the common reasons for this:
- Pagination: Pagination are typically excluded from the sitemap
- /collections/all/pages: Shopify doesn’t submit or include these URLs into the sitemap.xml file
- False positives: URLs here are detected but may not appear on Google Console.
If you run into problems submitting or building your sitemap, Google Webmasters has a support team to contact or an entire library of support resources such as FAQ and troubleshooting articles.
When to use a custom Shopify sitemap?
- If you migrate to Shopify and change URL structure, this could be used to help to process redirects and remove old URLs from the index.
- If you consolidate sections of your site it can be useful to include old URLs in a sitemap to help Google process redirects that are in place and remove these URLs from their index.
- This method could be used to upload hreflang sitemaps, (however, be careful as these would not be referenced in your robots.txt file).
- If you have customised your Shopify CMS and have product variants that are not included by Shopify in sitemaps, this can be used to include them in a sitemap.
Conclusion
Fortunately, adding a Shopify sitemap is something you only have to do once for your e-commerce site. You typically also don’t need to verify your online store in Google Search Console multiple times. Once you submit your sitemap, you’ll start getting some data in the Performance tab to see how many people are visiting your site from organic search.